Hi there!
Do you find it challenging to control your string trimmer and wish for a better way? As someone who has struggled with the same issue, I understand how frustrating it can be. After researching extensively, I’ve discovered a surprising yet effective answer – DIY String Trimmer Wheels.
Armed with practical know-how and the right tools, my article will guide you step-by-step through this easy project that promises increased stability and control over your trimmer.
Ready to revolutionize your yard work? Let’s dive in!
Contents
Can I add DIY String Trimmer Wheels By Myself?
Yes, you can add wheels to your string trimmer by purchasing a wheel kit specifically designed for your model and following the installation instructions provided.
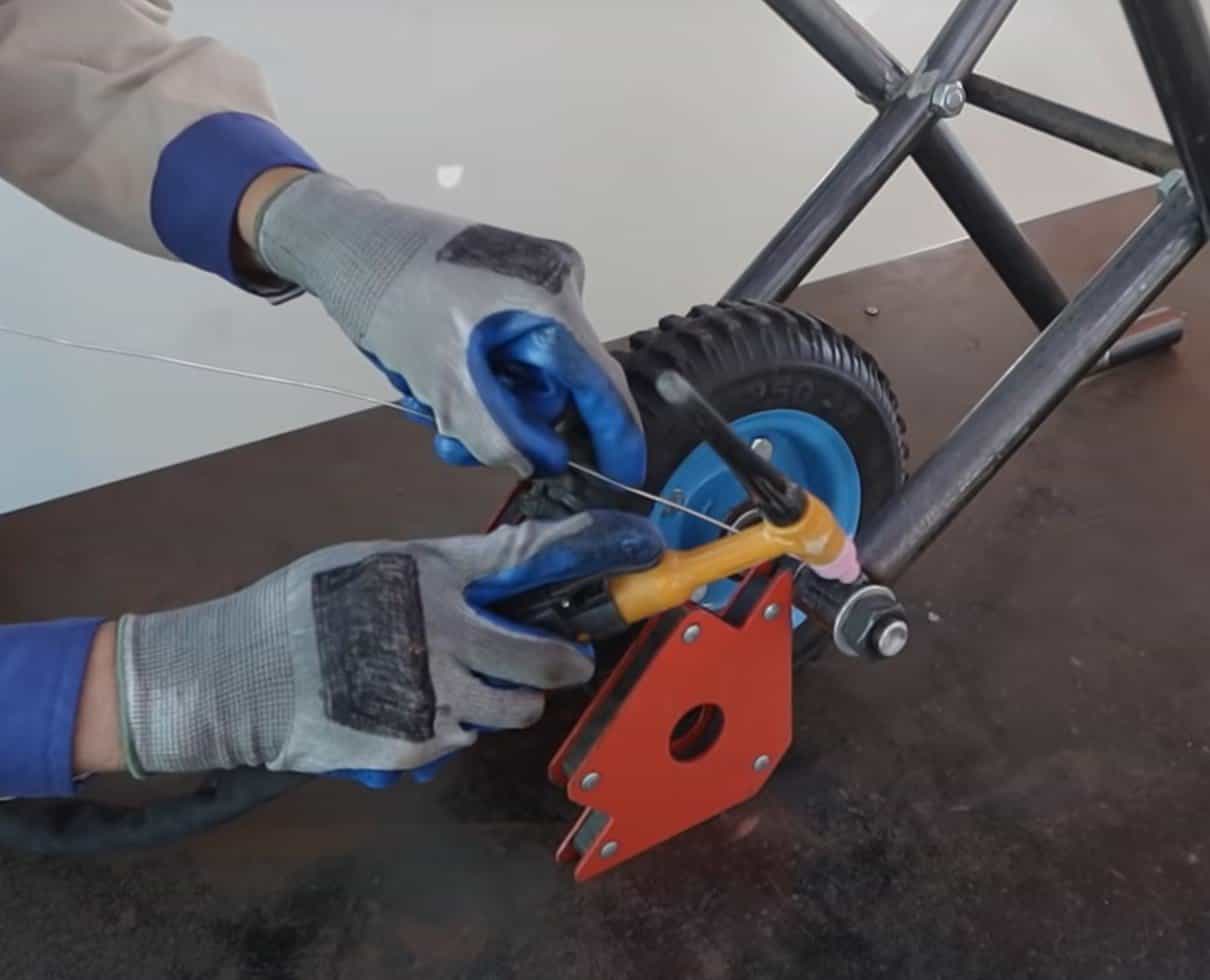
How to DIY String Trimmer Wheels
To DIY string trimmer wheels, start by placing the clamp over the shaft of the weed eater and sliding the bracket through its holes. Next, tighten the wing nut to secure the bracket in place.
Then, attach the wheels to the bracket and adjust their height as needed for optimum performance.
Read more: Makita String Trimmer 18V vs 36V – Discover the Superiority
Place the clamp over the shaft of the weed eater
For the first step, grab your clamp. Set it on the weed eater shaft. Make sure it sits about 2 to 3 inches above where the cutting wheel is. The right spot for the clamp helps attach wheels later on.
By doing this, you have started making your DIY string trimmer wheels!
Slide the bracket through the holes of the clamp
Now, let’s work on the bracket. Get it and push it through the holes in the clamp. This step is key for making your DIY string trimmer wheels. The bracket helps to join the weed eater with its new wheels.
The parts should fit well if you slide slowly and gently. You don’t want any damage. A good move here makes sure your weed eater moves right later on!
Tighten the wing nut to secure the bracket
First, grab your wing nut. It’s a small piece but very important for the DIY String Trimmer Wheels. Put this on the bolt that sticks through the bracket and the clamp. Now, start turning it clockwise until it is tight.
This locks in place all you’ve done so far! The wing nut holds everything together to make sure your setup will stay put while you work on your lawn.
Attach the wheels to the bracket
To attach the wheels to the bracket, slide the bracket through the holes of the clamp that you placed over the shaft of your weed eater. Then, tighten the wing nut to secure everything in place.
This method is common and effective for easier maneuverability while trimming or edging your lawn. It’s a simple process that can make a big difference in reducing strain on your back and arms while using your string trimmer.
So go ahead and give it a try!
Adjust the height of the wheels
To adjust the height of the wheels on your DIY string trimmer, follow these steps. First, make sure to remove the battery for safety. Then, loosen the wing nut that secures the bracket in place.
Slide the bracket up or down to your desired height and tighten the wing nut again to secure it. It’s important to find a comfortable height that allows you to effectively trim or edge your lawn without straining your back or arms.
Remember, different tasks may require different wheel heights, so experiment with adjustments until you find what works best for you.
Benefits of Using DIY String Trimmer Wheels
Using DIY string trimmer wheels provides increased stability and control, reduces strain on the back and arms, and makes maneuverability of the weed eater much easier.
Read more: Blade Trimmer vs String Trimmer – What is the Difference?
Increased stability and control
Using DIY string trimmer wheels can provide you with increased stability and control while trimming your lawn. These wheels help to evenly distribute the weight of the weed eater, making it easier to maneuver and navigate through uneven terrain.
With improved stability, you can confidently trim along edges and around obstacles without losing balance or straining your arms and back. This means less fatigue and discomfort during your gardening tasks.
Furthermore, having better control over the trimmer allows for more precise cutting, ensuring a neat and professional-looking lawn. So if you’re looking to make your trimming experience smoother and more efficient, adding DIY string trimmer wheels is definitely worth considering!
Reduced strain on the back and arms
Using DIY string trimmer wheels can greatly reduce strain on your back and arms. When you attach the wheels to your weed eater, it becomes easier to maneuver and control. By rolling the trimmer along instead of holding it up, you don’t have to bear the full weight of the tool, which lessens strain on your back muscles.
Additionally, having wheels allows you to guide the trimmer with more stability and control, minimizing unnecessary movements that can put stress on your arms. This means less fatigue and discomfort for you as you work in your lawn.
With these wheels, maintaining a well-trimmed yard becomes much more comfortable and enjoyable!
Easier maneuverability
Using DIY string trimmer wheels can greatly improve the maneuverability of your weed eater. With the added wheels, you’ll be able to easily navigate around tight corners and obstacles in your lawn.
The wheels provide stability and control, allowing you to move with ease and precision. Say goodbye to struggling with uneven terrain or getting stuck on stubborn patches of grass.
By attaching these DIY wheels to your string trimmer, you’ll experience a smoother and more efficient trimming process. So why make things harder for yourself? Enhance the maneuverability of your weed eater by installing some DIY string trimmer wheels today!
Considerations for Choosing Trimmer Wheels
When choosing trimmer wheels, it’s important to consider the compatibility with your weed eater model, the durability and quality of materials used, as well as adjustable height and wheel size options.

Compatibility with your weed eater model
Choosing the right trimmer wheels for your DIY string trimmer is important, and one of the key factors to consider is compatibility with your specific weed eater model. Make sure that the wheels you choose are designed to fit your particular weed eater so that they can be securely attached and provide optimal performance.
This will ensure that the wheels are stable and won’t interfere with the operation of your weed eater. So, when selecting trimmer wheels, always check for compatibility with your weed eater model to ensure a perfect fit.
Durability and quality of materials
Choosing durable and high-quality materials for your trimmer wheels is crucial. The material used in the construction of the wheels affects their durability and overall performance.
Trimmer wheels made from top-notch materials are less likely to break or wear down quickly, ensuring that they can spin smoothly and effectively cut through grass. On the other hand, if you opt for trimmer wheels made from cheap or low-quality materials, they may wear down faster and negatively impact the performance of your trimmer.
So, it’s essential to invest in trimmer wheels that are built to last and can withstand regular use without compromising their effectiveness.
Adjustable height and wheel size
I love the fact that DIY string trimmer wheels have adjustable height and wheel size. It makes a big difference in how comfortable and easy it is to use. With adjustable height, I can set the wheels at just the right level for me, reducing strain on my back and arms.
And when it comes to wheel size, bigger wheels provide better stability and control while smaller ones may require more effort to maneuver. So having the ability to customize both height and wheel size really improves the overall performance of my trimmer.
Conclusion
In conclusion, attaching wheels to your string trimmer can greatly improve its performance and ease of use. With increased stability and control, reduced strain on your body, and improved maneuverability, DIY string trimmer wheels are a valuable addition to any lawn care arsenal.
Consider the compatibility with your trimmer model and the durability of the materials when choosing trimmer wheels. Happy trimming!
FAQs
1. What are the benefits of adding wheels to a string trimmer?
Adding wheels to a string trimmer can provide greater stability and control, making it easier to maneuver and reducing strain on your arms and back during use.
2. Do I need any special tools or skills to install the wheels?
Most wheel kits come with all the necessary hardware for installation and include detailed instructions that are easy to follow. Basic hand tools like screwdrivers or pliers may be needed depending on the specific kit.
3. Will adding wheels affect the performance of my string trimmer?
When properly installed, adding wheels should not significantly impact the performance of your string trimmer. However, it’s important to choose a high-quality wheel kit that is compatible with your trimmer model for optimal results.