Hello,
We’ve all struggled at some point with a stubborn string trimmer line that won’t stop getting stuck. As someone who’s been down this frustrating road, I stumbled upon several common causes – from improper installation to using the wrong gauge of line.
This article is your go-to guide on why this happens and how you can fix it effectively. Let’s untangle these knotty problems together!
Contents
Key Takeaways
- A short string trimmer line can cause it to recede into the spool housing and get stuck, so make sure to leave enough length when installing.
- Installing the line backward can also lead to frequent jams, so always follow the directional cues on your machine when winding the line onto the spool.
- Tangles during loading and using the wrong gauge of line are other common causes of line getting stuck, so take care while winding and choose the appropriate thickness for your specific trimmer model.
Why Does My String Trimmer Line Keep Getting Stuck?
There are several reasons why your string trimmer line keeps getting stuck, including: the line being too short, installed backward, or tangled during loading; using the wrong gauge of line; and a worn out bump head.
Read more: Why Is My String Trimmer Leaking Gas?
The line is too short
As a lawn owner, you might find your string trimmer line getting stuck more often than not. One potential reason for this could be that the length of your line is simply too short.
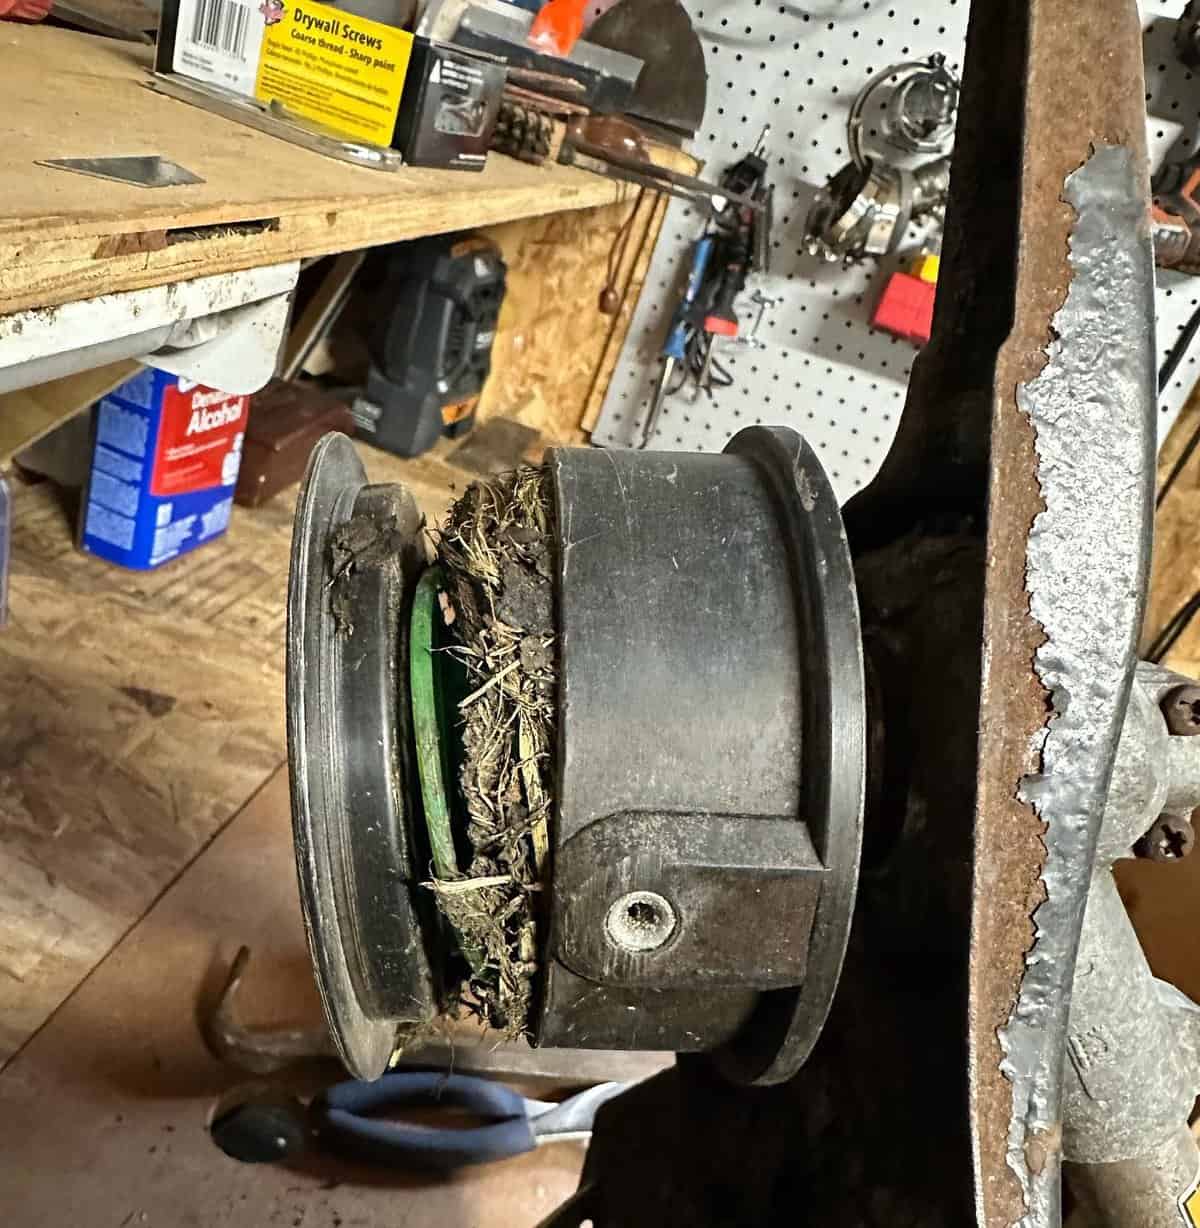
A short string can recede into the spool housing, causing it to jam up. Think about it like this; when there isn’t enough centrifugal force, as in the case of Weed Eater trimmer heads, the lines won’t advance properly.
Ryobi string trimmers also suffer from similar issues if their lines are wound too tightly— they’re prone to sticking together and halting the actions of a spinning head. On top of all this, if a replacement line is overly tense within a trimmer head just because it’s lacking in length, expect to encounter even more problems with stuck lines.
The line is installed backward
Here’s a common mistake that I have noticed among lawn owners. They mistakenly install the line backward on their string trimmer which often results in the line getting stuck during operation.
Yes, indeed! The direction matters when it comes to installing your string trimmer line. Think about it, if you are driving and suddenly decide to move against traffic flow, chaos is almost guaranteed, right? Likewise, mounting your trimmer’s line in reverse order can result in unexpected hiccups.
But don’t be too hard on yourself for this little slip-up; even seasoned lawn care enthusiasts sometimes make this error. If you ignore the arrows indicating which way to wind the lines onto your spool—say in brands like STIHL, Ryobi or Black and Decker—you’re setting up both yourself and your equipment for an annoying game of tug-of-war with every trimming attempt! So take note: Always align-and-wind following the indicated directional cues on your machine to avoid this problem.
The line is tangled during loading
A tangling snafu during the loading process is often a sneaky culprit for why your string trimmer line keeps getting stuck. As I dive into my gardening tasks, ensuring a smooth operation of my trimmer tops the checklist.
However, hastily loading the line onto the spool can result in unnecessary twists and tangles that cause jams during use. It’s not just tall grass or thick weeds that can trap your line; improper initial winding itself might set you up for an annoying trimmer halt later on.
Handling this issue requires patience and precision to ensure each wind around the spool is neat and tight, helping prevent any unruly tangles down the road while optimizing your powerful lawn maintenance tool – whether it’s Black and Decker, Ryobi or Dewalt.
The wrong gauge of line is used
Using the wrong gauge of line in your string trimmer can lead to frequent line jams and tangles. It’s important to select the correct gauge for your specific trimmer model to ensure smooth operation.
If the line is too thin, it may break easily or get tangled within the spool. On the other hand, if the line is too thick, it may not feed properly and cause unnecessary strain on the motor.
Checking your trimmer’s user manual or consulting with a professional at a lawn care store can help you determine the right gauge of line for optimal performance.
The bump head is worn out
I’ve noticed that one common reason for string trimmer line getting stuck is when the bump head is worn out. Over time and with regular use, the bump head can become damaged or worn down, leading to issues like the line not feeding properly or constantly getting stuck.
This can be frustrating for lawn owners who rely on their trimmers to keep their lawns looking neat and tidy. If you’re experiencing this problem, it may be time to replace your trimmer’s bump head.
By doing so, you’ll ensure that your trimmer operates smoothly and efficiently, making your trimming tasks much easier. Remember, taking care of your equipment is important for maintaining a well-groomed lawn.
How to Fix a String Trimmer Line Keep Getting Stuck
To fix a string trimmer line that keeps getting stuck, make sure to leave enough line when installing, follow proper loading instructions, wind the line tightly on the spool, choose the right gauge of line for your trimmer, and replace the spool if necessary.
Read more: Which Way Do String Trimmers Rotate?
Leave enough line when installing
When installing a new string trimmer line, it is crucial to leave enough length for effective trimming without the risk of getting stuck. Here’s what you need to do:
- Start by cutting a sufficient length of trimmer line based on your specific trimmer model and requirements.
- Check the manufacturer’s instructions or consult the user manual to determine the recommended length for your trimmer.
- Remember that leaving too little line can cause it to retreat into the spool housing, leading to frequent jams and interruptions during trimming.
- On the other hand, leaving too much line hanging out can increase the risk of tangling or breaking while in use.
- Aim for a balance by leaving an appropriate amount of line, typically around 6-8 inches (15-20 cm), extending beyond the cutting head.
- This extra length allows for efficient trimming and prevents unnecessary strain on the line.
- By ensuring there is enough line when installing, you reduce the chances of it getting stuck and enhance your overall trimming experience.
Follow the proper loading instructions
When loading your string trimmer line, it is essential to follow the proper instructions to prevent it from getting stuck. Here’s what you need to do:
- Start by unplugging or disconnecting the trimmer from its power source for safety.
- Remove the spool cover or bump head cover by twisting it counterclockwise or following the manufacturer’s instructions.
- Take out any remaining old or broken trimmer line from the spool if necessary.
- Determine the correct size and gauge of trimmer line recommended for your specific trimmer model. Refer to the owner’s manual or check with the manufacturer if you’re unsure.
- Cut a sufficient length of trimmer line based on your trimming needs. Leaving enough line will ensure smooth feeding and prevent it from getting stuck.
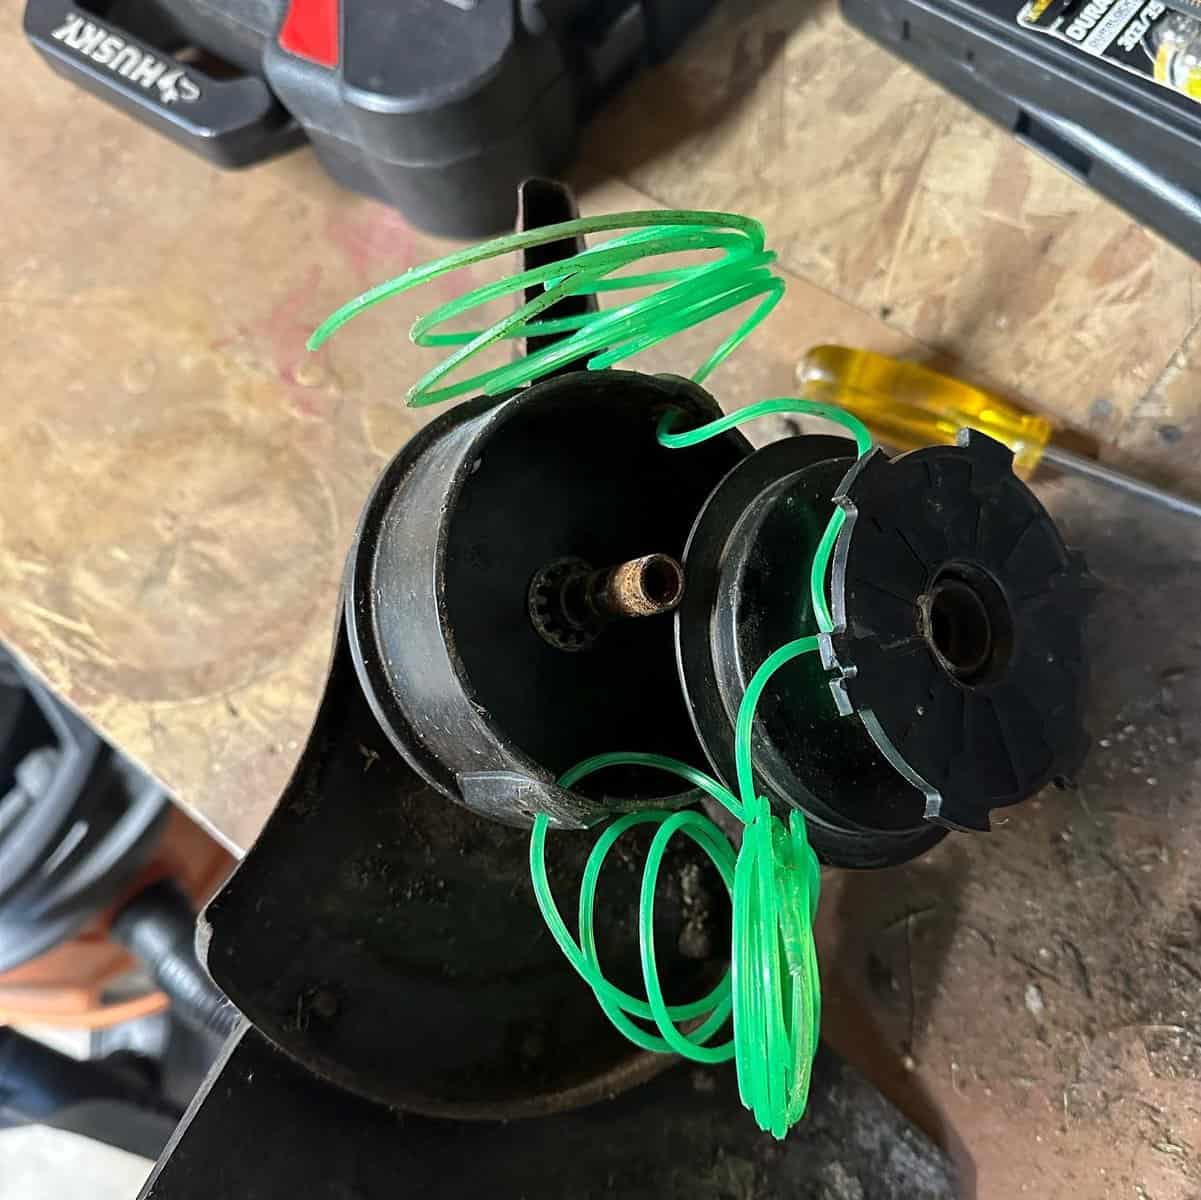
- Insert one end of the trimmer line into the slot or hole provided in the spool, following the directional arrow if there is one.
- Wind the remaining length of trimmer line tightly onto the spool in an even and orderly manner. Avoid overlapping or crossing over lines to prevent tangling and sticking issues.
- Leave a small tail of about 6 inches at both ends of the spool, ensuring they are not twisted together or melted against each other.
- Place back the spool cover or bump head cover securely by twisting it clockwise until it locks into place.
- Reconnect or plug in your string trimmer and test its functionality before starting your trimming tasks.
Wind the line tightly on the spool
To ensure that your string trimmer line does not get stuck, it’s important to wind the line tightly on the spool. Proper winding of the line can prevent tangling and allow for smooth operation. Here are some tips for winding the line tightly on the spool:
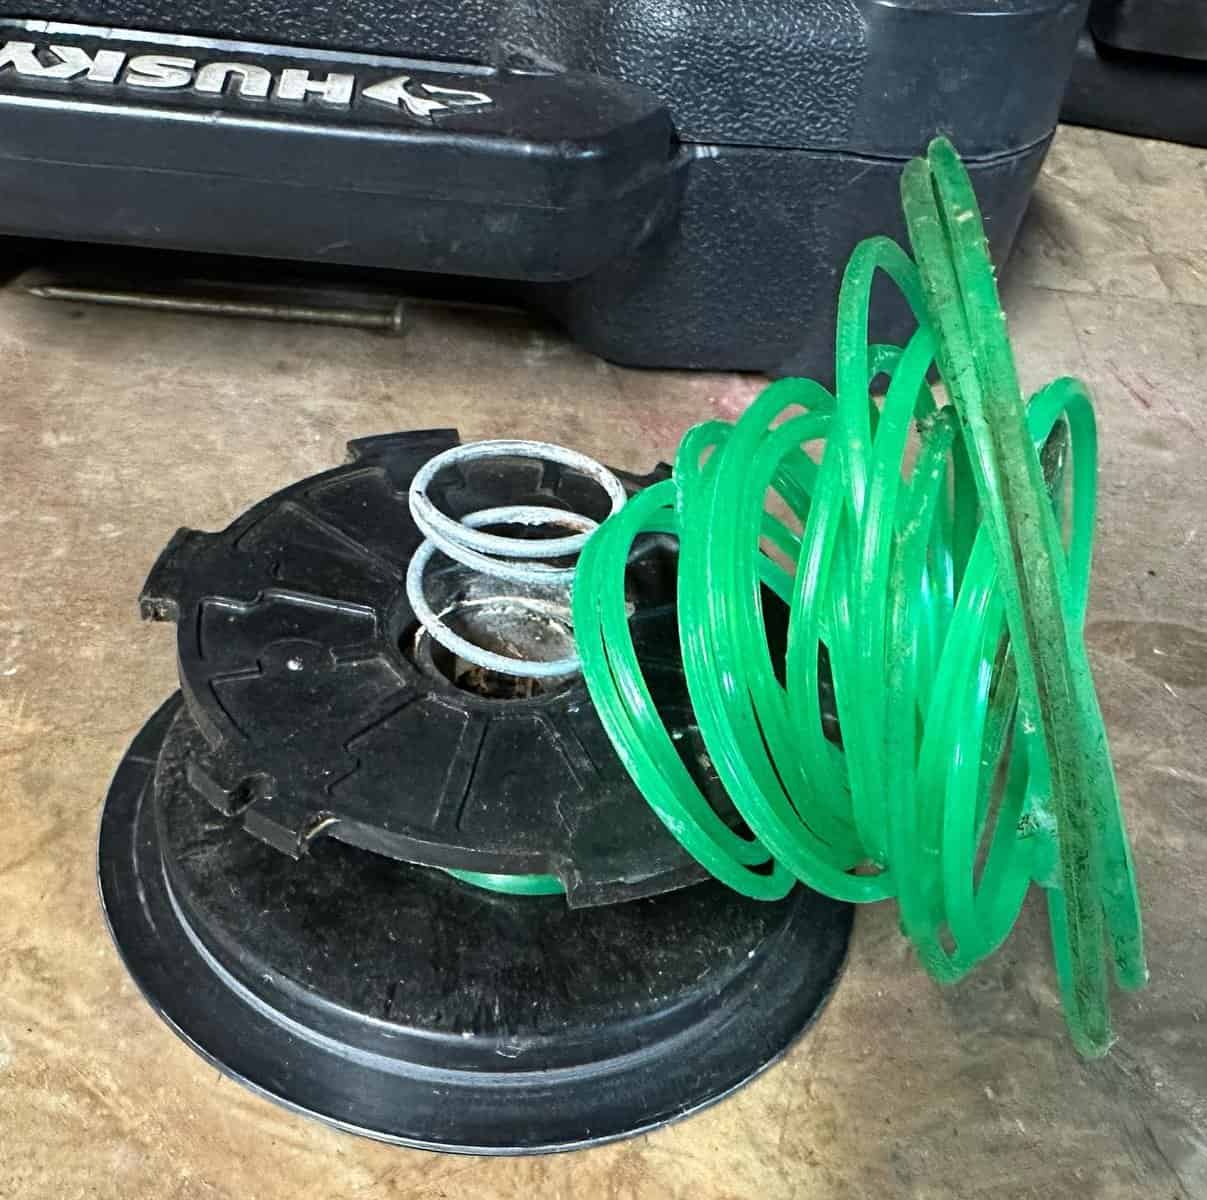
- Start by removing any old or tangled line from the spool.
- Take the new trimmer line and find the starting point.
- Hold onto the end of the line and begin winding it around the spool in a tight and even manner.
- Make sure to wind the line in even rows and layers, avoiding any overlap or crisscrossing.
- Keep a firm grip on the line as you wind it, ensuring that it stays taut throughout the process.
- Continue winding until you have filled up the spool with an adequate amount of line.
- Be mindful of any specific instructions provided by your trimmer’s manufacturer regarding how much line to use.
Choose the right gauge of line for your trimmer
Selecting the appropriate gauge of line for your trimmer is crucial to ensure smooth operation and prevent the line from getting stuck. Here’s what you need to know:
- Gauge options: Trimmer line comes in various thicknesses or sizes, with 0.065″-0.085″ being suitable for light trimming tasks like grass maintenance.
- Consider the terrain: If you’re dealing with thicker grass or tackling tougher vegetation, opt for a heavier gauge trimmer line to avoid it getting stuck.
- Manufacturer recommendations: Different trimmer brands may have specific guidelines on the correct gauge of line to use. Consult your trimmer’s user manual or manufacturer’s website for their recommendations.
- Compatibility: Ensure that the chosen trimmer line gauge is compatible with your specific trimmer model to prevent any potential issues.
- Regular replacements: Over time, trimmer lines can wear down and become more prone to tangling and jamming. Regularly replacing the line can help prevent it from getting stuck in the future.
Replace the spool if necessary
If you’ve tried all the troubleshooting steps and your string trimmer line still keeps getting stuck, it might be time to replace the spool. Here’s why:
- Compatibility: Ensure that the replacement spool you choose is compatible with your specific string trimmer model. Different trimmers have different spool sizes and designs, so using the right one is crucial for optimal performance.
- Worn-out Spool: Over time, the spool of your trimmer can wear out due to constant use or exposure to harsh conditions. This can cause it to become misaligned or lose its ability to properly feed the line, leading to frequent line jams. Replacing the worn-out spool with a new one can solve this issue.
- Damaged Parts: If you notice any damage or cracks on the spool or its components, such as the spring mechanism, it’s a clear sign that they need replacement. Any malfunctioning parts can hinder smooth line feeding and result in repeated line sticking problems.
- Fresh Line Supply: When you replace the spool, you also get a fresh supply of trimmer line. Over time, old lines can become brittle, tangled, or fused together due to heat exposure. Using a fresh batch of line ensures better cutting performance and reduces the chances of it getting stuck.
- Easy Installation: Most replacement spools come pre-wound with trimmer line, making installation quick and hassle-free. Simply remove the old spool from your trimmer head and snap in the new one for seamless operation.
Conclusion
In conclusion, there are several reasons why your string trimmer line keeps getting stuck. It could be due to a short line, incorrect installation, tangles during loading, using the wrong gauge of line, or a worn-out bump head.
However, by following some simple steps like leaving enough line when installing, winding the line tightly on the spool, and choosing the right gauge of line for your trimmer, you can easily fix this issue.
Remember to replace the spool if necessary for optimal performance. Happy trimming!
FAQs
Why is my line trimmer cord not feeding?
One common issue with a line trimmer is when the cord does not feed properly. This can be quite frustrating, but there are several reasons why this might happen. One possibility is that the trimmer head itself is faulty or worn out, preventing the cord from feeding smoothly.
Another common problem is when the string trimmer line becomes tangled or fused together inside the spool, making it difficult for it to advance properly. By following step-by-step instructions and troubleshooting tips, you can easily resolve this issue and get your line trimmer working smoothly again.
Remember that it’s important to make sure there is enough string inside the trimmer head and that it’s not twisted or melted together. Also, check if any attachments on your particular model may be causing feeding issues.
Why does the wire keep snapping on my trimmer?
I used to have the same frustrating issue with my trimmer line constantly snapping, so I understand how annoying it can be. There are a few reasons why this might happen. Firstly, using an incorrect gauge of line for your trimmer could cause it to break easily.
Additionally, if you’re winding the line too loosely on the spool or not leaving enough length when installing it, it may snap more frequently. Finally, worn-out bump heads can also contribute to this problem.
By choosing the right gauge of line, properly winding it on the spool, and ensuring your bump head is in good condition, you should be able to minimize breakage and get back to trimming with ease.
Should you soak string trimmer line in water?
I highly recommend soaking your string trimmer line in water. Soaking it in water before use or storing it overnight can make a big difference in its durability and flexibility. This is especially important if you’re dealing with rough or heavy vegetation.
Soaking the trimmer line adds moisture, making it more supple and easier to work with. In fact, reputable brands like Stihl even recommend soaking the line in water to prevent melting together and keep it flexible.
It’s a simple yet effective step that can help prolong the life of your trimmer line and ensure smooth operation while trimming your lawn.